I have probably gone through more wood glue than most people go through coffee. Between helping clients with furniture repairs and my own weekend woodworking projects, I have learned which adhesives actually work and which ones will leave you frustrated.
Here is my honest take on the wood glues that earn their place in my workshop.
Titebond II – My Go-To for Most Projects
This yellow PVA glue handles about 80% of what I throw at it. It is waterproof enough for most indoor projects, sets up in 30 minutes, and gives me a full day of working time before it gets too thick to use.
I keep the 16 oz bottle on my workbench because it has a good tip that does not clog up like some of the cheaper brands. At around , it is not the cheapest option, but it saves me from failed joints and do-overs.
**Best for:** Cabinet repairs, indoor furniture, trim work
**Avoid for:** Outdoor projects, oily woods like teak
Gorilla Glue Original – When Nothing Else Works
This polyurethane glue expands as it cures, which sounds terrible but actually helps fill gaps in less-than-perfect joints. I reach for this when I am working with difficult woods or when the fit is not as tight as I would like.
Fair warning: this stuff will stain your skin brown for days. I learned this the hard way during a bookshelf repair. Always wear gloves.
**Best for:** Outdoor projects, gap-filling, dissimilar materials
**Avoid for:** Fine furniture where you need invisible glue lines
Hide Glue – For Antique Repairs
Most people skip this old-school option, but when I am restoring antique furniture, hide glue is often the right choice. It is reversible with heat and moisture, which means repairs can be undone without damaging the original wood.
I buy the liquid version from Lee Valley. The powder form works better but requires mixing and heating, which is more trouble than most projects warrant.
**Best for:** Antique restoration, traditional woodworking
**Avoid for:** High-moisture environments
What About Epoxy?
Two-part epoxies have their place, but honestly, I do not reach for them often in furniture work. They are overkill for most joints and once they cure, the bond is permanent. I use them mainly for filling large voids or attaching metal hardware to wood.
West System G/flex is my choice when I need epoxy. It stays slightly flexible when cured, which works better with wood movement than rigid epoxies.
Application Tips That Actually Matter
**Temperature matters:** I learned this during a winter garage project. Most glues perform poorly below 50°F. If your workshop is cold, bring the glue and wood inside to warm up before gluing.
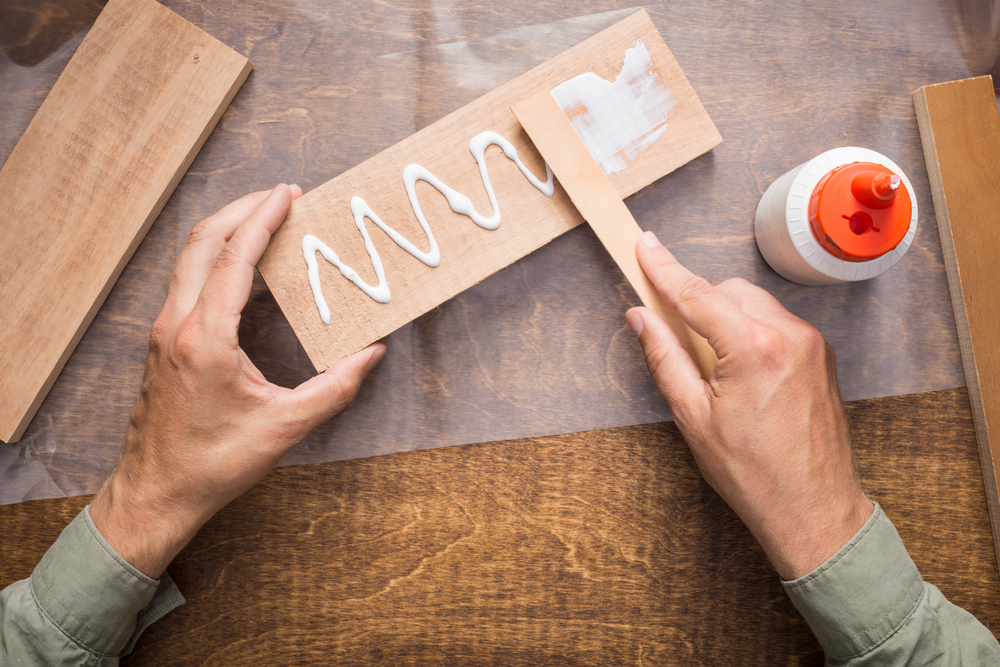
**Less is usually more:** Squeeze-out looks impressive, but you are just wasting glue and creating cleanup work. A thin, even coat on both surfaces works better than globbing it on one side.
**Clamping pressure:** Snug is good, overtightening squeezes out all the glue and weakens the joint. I can usually tell when clamps are too tight because the joint looks starved.
My Honest Recommendations
For most homeowners doing occasional repairs:
– Get one bottle of Titebond II
– Keep some CA glue (super glue) for tiny fixes
– That covers 90% of furniture repair situations
For serious weekend woodworkers:
– Titebond II for general use
– Gorilla Glue Original for outdoor projects
– Hide glue if you work on antiques
Skip the exotic specialty glues until you know you need them. I see people buying six different adhesives when two would handle everything they actually build.
Storage Reality
Most glues have a shelf life, and they will go bad even if unopened. I date my glue bottles when I buy them and replace annually. Dried-up glue in the bottle is expensive waste and poor joints are more expensive mistakes.
Store glue bottles upside down so the tip stays clear, and keep them at room temperature. The garage might seem convenient, but temperature swings will shorten the glue life.
Good glue joints should outlast the wood around them. Buy quality adhesive, follow the instructions, and your repairs will still be solid decades later.
Advanced Glue Selection Guide
Choosing the right glue isn’t just about grabbing what’s handy – it’s about understanding your project’s specific requirements and environmental conditions.
Wood Species Considerations
Different woods behave differently with adhesives, and I’ve learned this through trial and error over the years.
Hardwoods (Oak, Maple, Cherry):
– Dense grain structure requires longer clamp times
– PVA glues work well for interior projects
– Epoxy provides strongest bonds for stress-bearing joints
– Allow extra drying time due to lower porosity
Softwoods (Pine, Fir, Cedar):
– More porous, absorbs glue quickly
– Titebond II works exceptionally well
– Watch for squeeze-out on resinous woods like pine
– Cedar’s natural oils can interfere with some glues
Exotic Woods (Teak, Rosewood, Cocobolo):
– Natural oils require surface preparation
– Wipe with denatured alcohol before gluing
– Epoxy often provides the most reliable bond
– Test glue bond on scrap pieces first
Joint-Specific Glue Recommendations
The type of joint you’re creating dramatically affects which glue will perform best.
Edge Gluing (Tabletops, Panels)
For creating wide panels from narrow boards:
– **First choice:** Titebond III – long open time allows careful alignment
– **Second choice:** Titebond Original – faster set, good for experienced users
– **Professional option:** Unibond 800 – extended working time for complex glue-ups
Pro tips for edge gluing:
– Mill edges on same day as gluing for tightest joints
– Use cauls to prevent cupping during drying
– Don’t over-clamp – excessive pressure squeezes out too much glue
Mortise and Tenon Joints
These traditional joints need glue that flows well and provides lasting strength:
– **Best choice:** Titebond Liquid Hide Glue – traditional, reversible
– **Modern alternative:** Titebond III – waterproof, strong
– **Quick option:** Gorilla Glue Original – expands to fill gaps
Miter Joints
Challenging joints that rely heavily on glue strength:
– **Recommended:** Titebond II with reinforcement (splines or biscuits)
– **Alternative:** West System Epoxy for maximum strength
– **Quick fix:** Gorilla Glue for slight gap-filling properties
Environmental Factors
Your workshop environment and the final location of your project significantly impact glue choice.
Humidity Considerations
High humidity affects both application and long-term performance:
– **Humid conditions:** Choose fast-setting glues like Titebond Original
– **Dry conditions:** Slower-setting glues like Titebond III work better
– **Variable humidity:** Waterproof glues prevent seasonal joint failure
Temperature Effects
– **Cold workshops (below 60°F):** Extend clamp times by 50-100%
– **Hot conditions (above 85°F):** Work in smaller sections to prevent early set
– **Ideal range:** 65-75°F with 30-50% relative humidity
Clamping Strategies for Different Glues
Each glue type requires specific clamping approaches for optimal results.
PVA Glues (Titebond Family)
– **Clamp time:** 30 minutes to 1 hour for initial set
– **Full cure:** 24 hours before machining
– **Pressure:** Moderate – just enough to close joints completely
– **Tip:** Use wax paper under clamps to prevent sticking
Polyurethane Glues (Gorilla Glue)
– **Clamp time:** 1-2 hours (longer than PVA)
– **Full cure:** 24 hours
– **Pressure:** Firm – glue expands and needs restraint
– **Preparation:** Dampen one surface lightly for better activation
Epoxy Systems
– **Clamp time:** Varies by formulation (check manufacturer specs)
– **Working time:** Usually 20-45 minutes depending on hardener
– **Pressure:** Light to moderate – epoxy doesn’t shrink
– **Temperature:** Faster cure in warm conditions
Troubleshooting Common Glue Problems
Over the years, I’ve encountered and solved most glue-related issues. Here’s what I’ve learned:
Weak Bonds
**Symptoms:** Joint fails under moderate stress
**Causes:** Old glue, contaminated surfaces, insufficient clamp time
**Solutions:**
– Check glue expiration dates
– Clean surfaces with denatured alcohol
– Follow manufacturer’s clamp time recommendations exactly
Visible Glue Lines
**Symptoms:** Dark lines visible in finished project
**Causes:** Glue squeeze-out not cleaned properly, stain penetration
**Solutions:**
– Clean squeeze-out immediately with damp cloth
– Sand lightly before staining
– Use pre-stain conditioner on soft woods
Joint Creep
**Symptoms:** Joints slowly separate over time
**Causes:** Wrong glue for application, environmental stress
**Solutions:**
– Use mechanical fasteners with glue for high-stress joints
– Choose appropriate glue for environmental conditions
– Control shop humidity during gluing
Specialty Applications
Some projects require specialized approaches that go beyond standard woodworking glues.
Outdoor Projects
For deck railings, outdoor furniture, and exterior trim:
– **Marine epoxy:** Ultimate weather resistance
– **Titebond III:** Good waterproof option for most projects
– **Polyurethane construction adhesive:** Gap-filling for rough lumber
Food-Safe Applications
Cutting boards, bowls, and kitchen utensils need FDA-approved glues:
– **Titebond III:** FDA-approved when fully cured
– **Weldbond:** Food-safe, though not as strong
– **Traditional hide glue:** Naturally food-safe
Musical Instruments
Instrument making requires reversible, traditional glues:
– **Hot hide glue:** Traditional choice, reversible with heat and moisture
– **Liquid hide glue:** Easier to use, similar properties
– **Fish glue:** Premium option for highest-end instruments
Cost Analysis and Value
Understanding the cost-per-use helps justify investing in quality glues.
Budget Breakdown (per ounce)
– **Basic PVA:** /bin/zsh.25-0.40 per ounce
– **Titebond Original:** /bin/zsh.30-0.45 per ounce
– **Titebond III:** /bin/zsh.40-0.60 per ounce
– **Epoxy systems:** /bin/zsh.60-1.20 per ounce
– **Specialty glues:** /bin/zsh.80-2.00 per ounce
Value Considerations
While premium glues cost more upfront, they often provide better value:
– Longer shelf life reduces waste
– Better coverage means less glue per joint
– Stronger bonds reduce project failures
– Time savings from easier application
Storage and Shelf Life
Proper storage extends glue life and maintains performance.
Optimal Storage Conditions
– **Temperature:** 65-75°F (avoid freezing and extreme heat)
– **Humidity:** Moderate levels (30-50%)
– **Light:** Store in dark areas to prevent UV degradation
– **Containers:** Keep original containers tightly sealed
Shelf Life Guidelines
– **PVA glues:** 1-2 years unopened, 6-12 months opened
– **Polyurethane glues:** 12-18 months unopened, 6-8 months opened
– **Epoxy systems:** 2-3 years unopened, 1 year opened
– **Hide glues:** 1 year liquid, indefinite for dry granules
Safety Considerations
Working safely with glues protects both your health and project quality.
Ventilation Requirements
– **PVA glues:** Minimal ventilation needed
– **Polyurethane glues:** Good ventilation recommended
– **Epoxy systems:** Excellent ventilation required, consider respirator
– **Solvent-based adhesives:** Explosion-proof ventilation necessary
Skin Protection
– Wear nitrile gloves when working with epoxy or polyurethane
– Have soap and water readily available
– Keep skin cream handy for accidental contact
– Never use solvents to remove glue from skin
Testing and Quality Control
For critical projects, testing ensures your glue choice will perform as expected.
Simple Bond Tests
– Make test joints with scrap wood from your project
– Allow full cure time before testing
– Test joint strength by trying to break the bond
– Examine failure mode – wood should break before glue joint
Environmental Testing
For outdoor projects, consider accelerated testing:
– Expose test samples to freeze-thaw cycles
– Test water resistance with extended soaking
– Check UV resistance with prolonged sun exposure
Final Recommendations
After years of experience with various adhesives, here’s my practical advice:
Start with the basics: Titebond Original and Titebond III will handle 90% of your projects effectively.
Invest in quality: The difference between cheap and good glue is huge, but the difference between good and excellent is smaller.
Match the glue to the job: Don’t use outdoor glue for indoor projects, and don’t use indoor glue outdoors.
Practice proper technique: Even the best glue won’t save poor joint preparation or inadequate clamping.
Keep detailed records: Note which glues work best for your specific applications and workshop conditions.
The right glue, properly applied, creates joints stronger than the wood itself. Take time to choose wisely, and your projects will last for generations.