
Breaking Down the Built-In Bookshelf Decision
Built-in bookshelves transform a room. They add architectural interest, eliminate furniture placement headaches, and create storage that looks like it belongs. But the price difference between DIY and professional installation is staggering—often 5x or more. Is the professional version worth it?
I’ve built both, and I’ve watched clients agonize over this decision. Here’s what actually matters.

What $800 DIY Gets You
For $800 in materials, you can build floor-to-ceiling bookshelves covering an 8-foot wall using cabinet-grade plywood, poplar face frames, and standard moldings. This assumes you own basic tools: a miter saw, a drill, a level, and a nail gun (rentable for $50/day).
The DIY version takes 3-4 weekends of focused work. You’ll make mistakes—the first face frame rarely fits perfectly, and achieving level installation on imperfect walls requires patience and shims. But the end result, once caulked and painted, looks remarkably professional.
Where DIY shows its limits: complex details. Fluted columns, curved aprons, integrated lighting, and furniture-grade finishes require skills and tools most homeowners don’t possess.
Detailed DIY Cost Breakdown
Understanding exactly where your $800 goes helps you plan and potentially save money. For an 8-foot wide by 8-foot tall built-in, expect these material costs:
Plywood and lumber ($350-450): Four sheets of 3/4-inch cabinet-grade plywood at $50-70 each for shelves and cabinet boxes. One sheet of 1/4-inch plywood for cabinet backs at $25. Poplar boards for face frames: 1x2s and 1x3s totaling about $80-100.
Moldings and trim ($100-150): Crown molding for the top (10-12 linear feet at $4-8/foot). Base molding to match existing room trim (10-12 feet). Edge banding or screen molding for shelf fronts.
Hardware and fasteners ($75-100): Shelf pins (50-100 count). Wood screws in multiple sizes. Pocket hole screws if using Kreg joinery. Finish nails for trim. Wood glue. Construction adhesive.
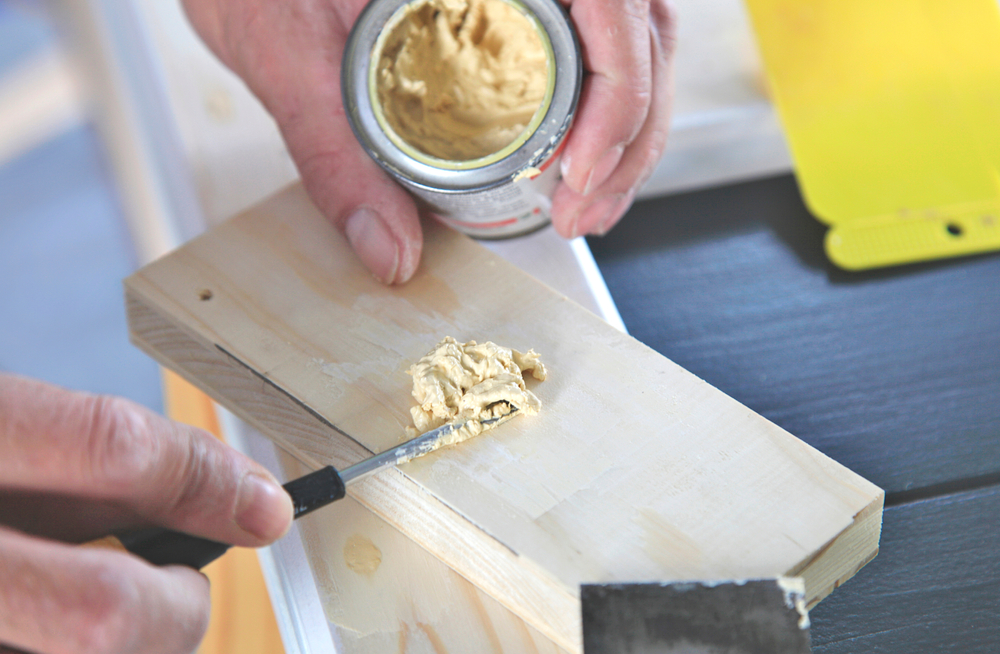
Finishing supplies ($100-150): Sandpaper (multiple grits). Wood filler and caulk. Primer (1 gallon). Paint (1-2 gallons of semi-gloss). Brushes and rollers.
Tools Needed for DIY
The tool list separates casual DIYers from those ready to tackle built-ins. Essential tools you must have include a miter saw (or miter box with hand saw for budget approach), a circular saw or table saw for ripping plywood, a drill/driver with bits, a level (4-foot preferred), measuring tape and square, a clamps assortment, and a brad nailer (pneumatic or cordless). Strongly recommended additions are a Kreg pocket hole jig ($40-100), a router for edge profiles, an orbital sander, a paint sprayer for professional finish, and sawhorses or workbench.
If you don’t own these tools, rentals add $100-200 to your project. Purchasing basic versions adds $300-500, but you’ll have them for future projects.
Skill Level Required for DIY
Be honest about your abilities before committing to DIY built-ins. Rate yourself on these specific tasks:
Cutting accurate 45-degree miters consistently is essential for crown molding. If you’ve never cut miters, practice on scrap before cutting expensive molding. Leveling and shimming against imperfect walls requires patience. Few walls are truly plumb and square. You’ll need to scribe, shim, and adjust constantly. Applying smooth caulk and wood filler separates amateur work from professional results. The finish work takes as long as the construction. Achieving an even paint finish requires proper prep, quality paint, and technique. Brush marks scream DIY.
If you’ve successfully completed projects like installing trim work, building furniture, or refinishing cabinets, you have the foundation for built-in bookshelves. If this would be your first major woodworking project, consider starting smaller.
What $4,000 Professional Gets You
A professional built-in from a custom carpenter includes site measurement, design consultation, off-site fabrication, and installation completed in 2-3 days. Materials are often higher grade—maple or oak rather than poplar, pre-finished cabinet boxes rather than site-painted plywood.
More importantly, professionals solve problems you won’t anticipate. Out-of-square corners, sloping floors, electrical outlets that need relocation, and HVAC considerations all get addressed. The built-in integrates with your room as if it was original to the house.
The finish quality difference is visible up close. Spray-applied finishes are smoother than brushwork. Joints are tighter. Details like soft-close hinges on cabinet doors and built-in LED lighting come standard.
Professional Install Pricing Factors
Professional quotes vary wildly based on several factors. Understanding these helps you compare bids intelligently.
Labor rates by region: Carpenters charge $50-100/hour depending on location. Major metro areas run higher; rural areas lower. A complex built-in requires 40-60 labor hours, explaining the $2,000-4,000 labor component.
Material selection: Paint-grade poplar and MDF cost far less than stain-grade oak or walnut. Paint-grade built-ins run $3,000-5,000; hardwood with clear finish runs $6,000-12,000+.
Complexity factors: Cabinets with doors add 30-50% over open shelving. Integrated lighting adds $300-800. Crown molding complexity affects price significantly. Special features like rolling ladders, secret doors, or entertainment center integration multiply costs.
Shop vs. site built: Carpenters who fabricate in their shop deliver higher quality at lower cost than those building entirely on-site. Shop work allows precision equipment and controlled conditions.
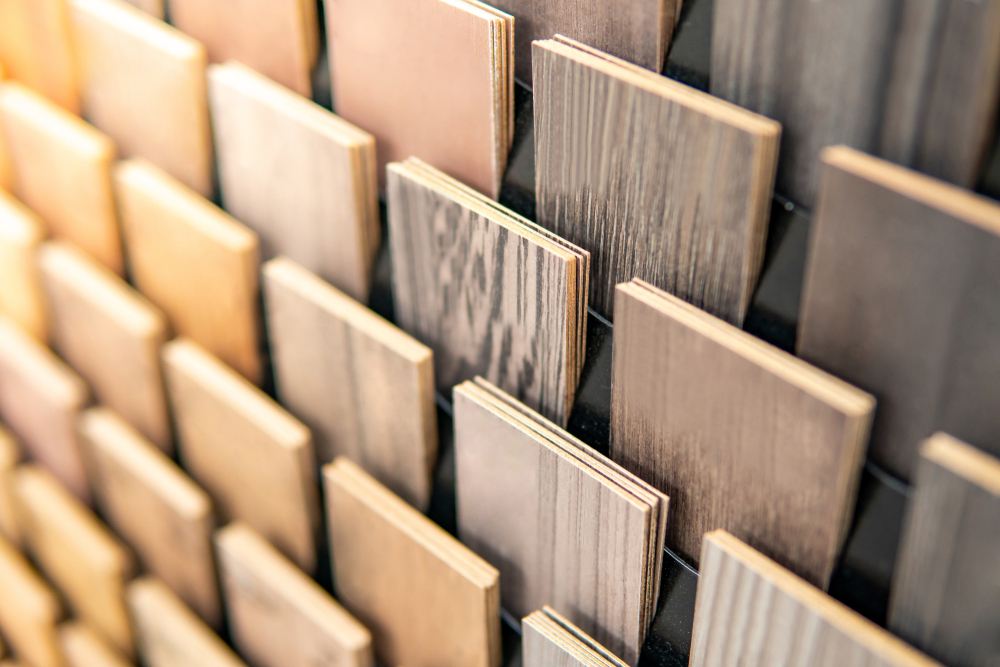
Material Options and Costs
Material choice dramatically affects both cost and appearance. Here’s what each option offers:
MDF (Medium Density Fiberboard): Cost is $35-50 per sheet. Pros include perfectly flat surfaces ideal for paint, no grain or knots, and easy to work. Cons are it’s heavy, swells if wet, and requires sealing all edges. Best for paint-grade built-ins on a budget.
Cabinet-grade plywood: Cost runs $50-80 per sheet. Pros are strength, stability, and lighter than MDF. Cons include visible edge grain requiring banding and higher cost. Best for painted or natural-finish quality built-ins.
Solid hardwood (oak, maple, cherry): Cost is $6-15 per board foot. Pros are beautiful grain and natural finish potential, perceived high value, and traditional craftsmanship appeal. Cons are high cost, requires skill to work, and wood movement concerns. Best for stain-grade heirloom built-ins.
When to Hire a Pro
Certain situations make professional installation the clear choice. Complex designs featuring curved elements, fluted columns, library ladders, or intricate molding profiles require specialized skills and tools. Limited time is another factor—if you need the project done in weeks rather than months, professionals deliver faster. Hardwood finishes matter here too; stain-grade work in oak, walnut, or cherry requires expertise to look right. Integration requirements like entertainment centers, home offices, or wet bars have electrical, data, and plumbing needs. Historical restoration in older homes often needs matched millwork and techniques.
Also consider your honest assessment of your finish-work skills. The construction is forgiving—mistakes hide behind caulk and paint. But if you can’t achieve smooth, even paint coverage, the final result will disappoint regardless of how well you built the structure.
Design Considerations
Whether DIY or professional, certain design principles make built-ins successful. Standard book height is 9-11 inches, so plan adjustable shelf spacing around this. Include a few 14-inch spaces for oversized books or art. Vary shelf depths in the unit: 8-inch deep upper shelves for smaller items, 12-inch deep lower shelves for larger books and storage boxes. Include at least some closed storage. Open shelves display treasures; closed cabinets hide life’s visual clutter. The balance creates interest. Match trim to existing room moldings for seamless integration. This matters especially at the crown and base. Consider lighting from the start. Retrofit LED strips are possible but never look as clean as designed-in lighting channels.
The Middle Path
Consider a hybrid approach: have a carpenter build the cabinet boxes and face frames, then handle the installation, trim work, and painting yourself. This cuts professional costs by 30-40% while eliminating the most challenging fabrication steps.
Another option: purchase pre-made cabinet boxes from IKEA or cabinet suppliers and add custom face frames and moldings yourself. This approach costs $1,200-2,000 and requires intermediate skills but delivers professional-looking results.
The Honest Assessment
If you have 40+ hours to invest, genuine interest in woodworking, and a high tolerance for learning curves, DIY built-ins are achievable and rewarding. You’ll spend roughly $800 in materials plus $100-200 in tool rentals and supplies, and you’ll gain skills that apply to future projects.
If your time is valuable, your interest in woodworking is minimal, or you want a specific design that exceeds basic shelving, the professional route makes sense. You’re not just paying for materials and labor—you’re paying for expertise, equipment, and a guaranteed result.
Built-in bookshelves add lasting value regardless of who builds them. The question is whether the journey or the destination matters more to you.

Subscribe for Updates
Get the latest articles delivered to your inbox.
We respect your privacy. Unsubscribe anytime.