After 12 years working in residential real estate and helping homeowners through renovations, I keep coming back to plywood siding for exterior projects. While it might not have the glamour of cedar shakes or the low maintenance of vinyl, there are solid reasons why I recommend it to most clients.
What Actually Is Plywood Siding?
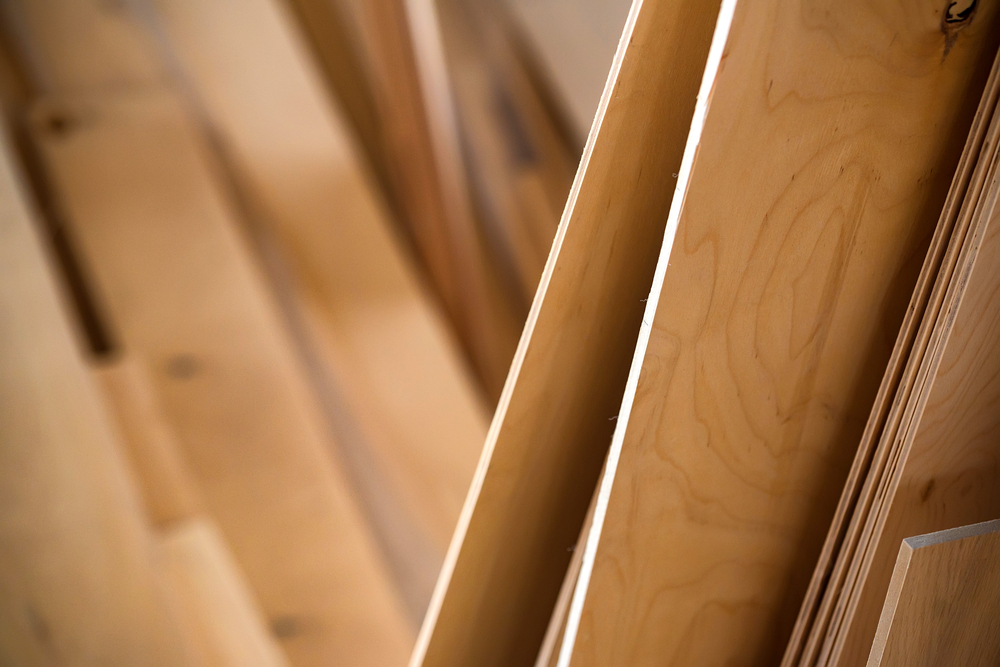
If you have looked at building materials lately, you have probably seen plywood siding without realizing it. It is essentially engineered wood – thin layers of wood veneer glued together with the grain running in alternating directions. This cross-grain pattern is what gives plywood its strength and helps prevent the warping issues you get with regular lumber.
The most common type you will see is T1-11 siding, which has those vertical grooves that give homes a rustic, cabin-like appearance. But plywood siding comes in smooth finishes too, depending on your style preference.
Why I Recommend It
**Cost-effectiveness:** This is the big one. For clients on a budget, plywood siding costs roughly half what you would pay for fiber cement and delivers excellent return on investment for home renovations and a fraction of natural wood siding. When you are working on a rental property or trying to maximize your renovation budget, this matters.
**Installation speed:** I have watched contractors install plywood siding, and it goes up fast. Each panel covers a large area, which means lower labor costs and quicker project completion. If you are handy with tools, this is actually a realistic DIY project for many homeowners.
**Durability when maintained:** Here is where some people get burned – plywood siding needs maintenance. But when properly sealed and painted every 5-7 years, I have seen installations last 20+ years without major issues.
Where It Works Best
Plywood siding performs well in most climates, but I am extra careful in very humid areas. In places like coastal regions or areas with heavy rainfall, I always recommend pressure-treated plywood and make sure clients understand the maintenance requirements.
For vacation homes, rental properties, or primary homes where budget is a major concern, plywood siding hits the sweet spot of durability and affordability.
Installation Reality Check
If you are considering this as a DIY project, here is what you need to know:
– Use galvanized nails spaced 6-8 inches apart
– Seal all cut edges immediately – moisture is plywood siding worst enemy
– Prime and paint within 30 days of installation
– Leave proper gaps for expansion
The biggest mistake I see homeowners make is skipping the edge sealing step. Water gets in, the plywood delaminates, and suddenly you have a much bigger problem.
Maintenance Reality
Let me be honest about maintenance. You will need to inspect the siding annually and repaint every 5-7 years depending on your climate. Look for any areas where the paint is failing, especially around windows and doors where water might collect.
I tell clients to budget -3 per square foot every 5-7 years for repainting. Factor this into your long-term costs when comparing siding options.
Compared to Other Options
**Vinyl siding:** Lower maintenance but can look cheap and may not add as much home value
**Fiber cement:** More durable but costs 2-3 times more upfront
**Wood siding:** Beautiful but requires even more maintenance and costs significantly more
For most homeowners, especially first-time buyers or those renovating rental properties, plywood siding offers the best balance of cost, appearance, and durability.
Bottom Line
Plywood siding is not perfect, but it is a solid choice for many situations. If you can commit to the maintenance schedule and want to keep costs reasonable while still getting a natural wood appearance, it deserves serious consideration.
Just make sure you get multiple quotes from contractors who have experience with plywood siding installation. Poor installation will cost you much more in the long run than choosing a slightly more expensive siding material.
Types of Plywood Siding
Understanding the different types of plywood siding helps you make the best choice for your specific project and budget.
T1-11 Siding
The most common type you’ll encounter, T1-11 features vertical grooves spaced 4, 6, or 8 inches apart. These grooves aren’t just decorative – they help disguise the seams between panels and add structural interest to large wall surfaces.
Pros: Easy to install, affordable, readily available
Cons: Can look dated if not properly maintained
Best for: Rustic homes, cabins, sheds, and budget-conscious projects
Board and Batten Style
This style mimics traditional board and batten construction with wider spacing between vertical elements. It offers a more refined look than standard T1-11.
Pros: More sophisticated appearance, hides imperfections well
Cons: Slightly more expensive than T1-11
Best for: Farmhouse styles, modern rustic designs
Smooth Plywood Siding
Without grooves or texture, smooth plywood siding provides a clean, contemporary look that can be painted or stained in any color.
Pros: Versatile appearance, takes paint beautifully
Cons: Shows seams more obviously, requires careful installation
Best for: Modern homes, contemporary designs
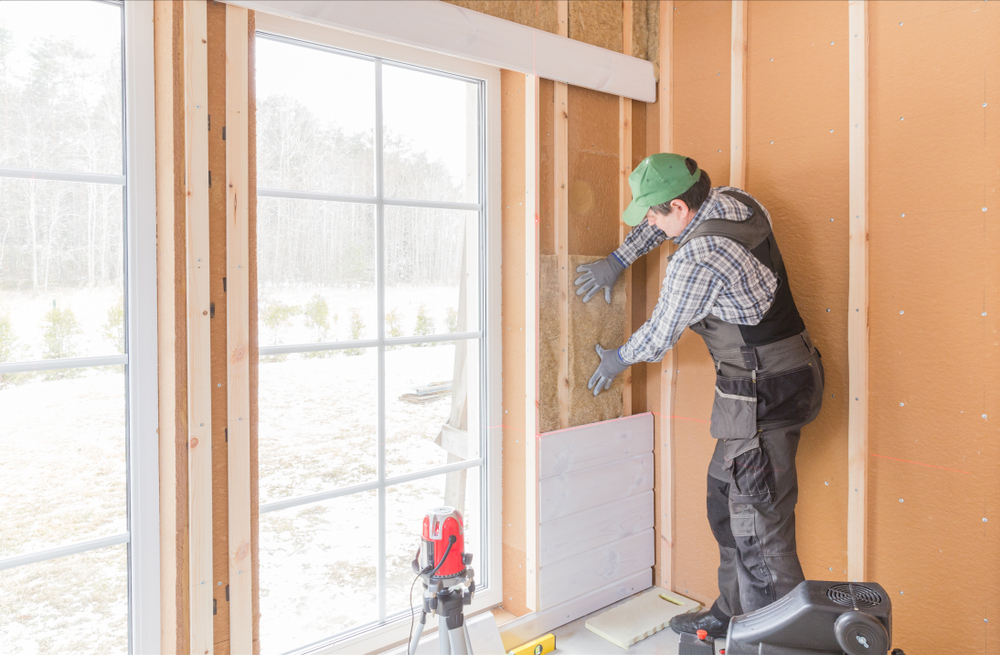
Installation Best Practices
Proper installation is crucial for plywood siding longevity. Here’s what I’ve learned from watching countless installations:
Foundation and Prep Work
Start with a solid foundation. Ensure your house wrap or building paper is properly installed with generous overlaps. Any moisture that gets behind the siding needs a clear path out.
Panel Placement
– Leave a 1/8-inch gap between panels for expansion
– Start installation from the bottom, working upward
– Ensure panels are plumb and level before securing
– Use a chalk line for straight, consistent installation
Fastening Requirements
Use galvanized nails spaced 6-8 inches apart along studs. I recommend 8d galvanized box nails for most applications. Avoid over-driving nails, which can create dimples that collect water.
Flashing and Sealing
This is where many DIY installations fail. Proper flashing around windows, doors, and other penetrations is essential:
– Install head flashing above windows and doors
– Use step flashing along roof lines
– Seal all cut edges immediately with primer or sealer
– Caulk joints with high-quality exterior caulk
Maintenance Requirements
Let me be honest about maintenance – plywood siding requires attention, but it’s not overwhelming if you stay on top of it.
Annual Inspection Checklist
Every fall, walk around your home and look for:
– Cracks or splits in the wood
– Areas where paint or stain is failing
– Loose or missing caulk around windows and trim
– Signs of moisture intrusion or rot
– Nail pops or loose panels
Cleaning and Care
– Power wash annually with low pressure (1500 PSI max)
– Use a mild detergent for stubborn stains
– Allow to dry completely before applying new finishes
– Trim vegetation away from siding to improve air circulation
Repainting Timeline
In my experience, you’ll need to repaint every 5-7 years depending on:
– Climate exposure (south-facing walls fade faster)
– Quality of previous paint job
– Local weather conditions
– Color choice (darker colors fade more quickly)
Cost Analysis
Let’s break down the real costs so you can budget appropriately:
Material Costs (per square foot)
– T1-11 plywood siding: .50-2.50
– Smooth plywood siding: .00-3.00
– Premium grades: .50-4.00
– Trim and accessories: /bin/zsh.50-1.00
Installation Costs
– DIY installation: Materials only
– Professional installation: .00-6.00 per square foot
– Total project cost: .50-10.00 per square foot installed
Long-term Costs
Factor in maintenance over 20 years:
– Repainting every 6 years: .00-3.00 per square foot
– Minor repairs: -1,000 every 10 years
– Total 20-year cost: .00-15.00 per square foot
Climate Considerations
Plywood siding performance varies significantly based on your local climate:
Humid Climates
In areas with high humidity or frequent rain:
– Choose pressure-treated plywood
– Ensure excellent ventilation behind siding
– Use high-quality primer and paint systems
– Consider annual touch-ups rather than waiting for major failures
Dry Climates
In arid regions:
– Focus on UV protection with quality stains
– Watch for thermal expansion and contraction
– Maintain consistent moisture levels to prevent cracking
– Choose lighter colors to reflect heat
Cold Climates
In areas with freeze-thaw cycles:
– Ensure proper caulking and sealing
– Use paints designed for temperature fluctuations
– Allow for seasonal movement in installation
– Address ice dam issues that can affect siding
Common Problems and Solutions
Based on my experience, here are the most frequent issues and how to address them:
Delamination
When plywood layers separate, it’s usually due to moisture infiltration.
Solution: Remove affected sections, treat underlying structure, replace with pressure-treated material.
Edge Swelling
Unsealed cut edges absorb moisture and swell.
Solution: Sand affected areas, apply primer to all edges, repaint.
Nail Pops
Nails work loose over time due to wood movement.
Solution: Remove loose nails, fill holes, re-secure with slightly longer nails.
Paint Failure
Poor surface prep leads to premature paint failure.
Solution: Sand to bare wood, prime with high-quality primer, apply two coats of quality paint.
Environmental Considerations
Modern plywood siding offers several environmental advantages:
Sustainable Sourcing
– Look for FSC-certified plywood from managed forests
– Many manufacturers use fast-growing species
– Plywood uses wood more efficiently than solid lumber
Energy Efficiency
– Provides decent insulation value (R-1.2 per inch)
– Can accommodate additional insulation behind
– Tight installation reduces air leakage
End-of-Life Considerations
– Untreated plywood can be recycled or composted
– Painted plywood requires proper disposal
– Consider recyclable content when choosing products
When to Choose Alternatives
Plywood siding isn’t right for every situation. Consider alternatives when:
– You live in an extremely wet climate with poor drainage
– Your home has complex architectural details that are hard to flash properly
– You want a completely maintenance-free solution
– Local building codes restrict wood siding
– You’re building in a high-fire-risk area
Professional vs. DIY Installation
Good DIY Projects
– Simple rectangular walls
– Single-story installations
– Sheds, garages, and outbuildings
– Homeowners with solid carpentry skills
Hire Professionals For
– Complex architectural details
– Multi-story installations
– Homes with lots of windows and doors
– Situations requiring extensive flashing work
– When permits require licensed contractors
The decision often comes down to your comfort level with tools and your available time. A poorly installed DIY job will cost more in the long run than hiring professionals initially.
Remember, plywood siding can be an excellent choice when installed and maintained properly. The key is understanding the commitment required and planning accordingly. With proper care, you’ll have an attractive, durable exterior that serves your home well for decades.